
Introduction
Ever since our first launch in October, we've collected email signups on our landing page from people excited about our product. After a potential user joined our waitlist by submitting their email address, we would follow-up with a confirmation email.
Throughout the fall, we iterated our confirmation email numerous times – trying to encourage those signing up to share about Flowrite to their friends. We tested different copies and provided share links for social media, which got us a decent amount of word-of-mouth. In the end, what was missing was an incentive for people to spread the word.
We wanted to own the entire process – signup, onboarding, referrals, emails, and rewards.
Some months later, we started looking into off-the-shelf referral marketing solutions like Viral Loops, KickoffLabs, and Prefinery, but none of them really gave us the flexibility that we were looking for. We wanted to own the entire process – signup, onboarding, referrals, emails, and rewards.
So, we started building our own referral system using no-code tools. Soon after, we launched a new version of the signup flow consisting of a beautifully integrated onboarding survey and a referral program – giving people the possibility to earn rewards by inviting their friends to join our waitlist.
The new system caused an immense spike in our signups – over 8x increase on week 4 of 2021 compared to the average weekly signups during the preceding 6 weeks. This is a practical step-by-step instruction on how to implement the same referral program in your business 🎯
What does Flowrite's referral program include?
- Email signup on the website
- Unique referral link assigned to every user
- Rewards for # of people referred
- Beautifully integrated Typeform survey to collect further information about each user
- Possibility for the user to refer a friend during the survey
- Internal spreadsheet to track signups and referrals
- Public leaderboard for users to track their referrals
What's required to build a similar program?
- Website that you can customize with your own HTML & JavaScript (i.e. a Webflow site or just a pure HTML website)
- Typeform survey (optional)
- Google Sheets or Airtable
- Gmail or something else that sends emails
- Automation platform (e.g. Zapier or Integromat) to glue things together
Also, having some level of understanding of JavaScript may become handy but is not essential by any means!
1. Creating a referral code
Each person that signs up to our waitlist is assigned a random 6-character code consisting of numbers and letters. At the end of the signup process, we use this code on the confirmation page to give the user one-click sharing links for social media.
To create a referral code, insert the following snippet at the end of your <body> tag (or before </body> tag) on each page where a user can sign up. If you're using Webflow or a similar website builder, you can insert the code globally to every page from your site settings.
Secondly, create another variable or constant called referralUrl, which is composed of the URL of your homepage and the code we just generated. Insert it below the referralCode variable.
2. Storing the user's URL
You also want to store the user's current URL in a variable. It's essential to know from which URL every signup is coming in order to count the # of referrals per each referral link.
Your code should now look like this:
3. The signup form
Creating hidden input fields
In addition to an email input field, your signup form should also contain two hidden inputs to which we'll soon assign the referralUrl and siteUrl values from the previous steps.
To add the input fields, insert the following code inside your form element – right next to the email field.

Populating the input fields
The inputs are still empty, though. You need to assign the variables from steps 1 and 2 into your inputs so that they get included in the submission.

Testing it out
Now, when a user signs up on the website, both the referral URL and the site's URL should be hiddenly included in the submission. If you're using Webflow, you can verify this from the confirmation email.
4. Customizing your Typeform survey
As part of the signup & referral system, we are using Typeform to learn more about each user. Completing the Typeform survey is not required to join the waitlist because we collect the email addresses already during the initial signup. The percentage of users who proceed to complete the survey is currently roughly 75%.
In practice, we want to deliver the referralCode (step 1) and the user's email into Typeform and "carry" them throughout the submission. We do this in order to:
- Use the referralCode in share links on your confirmation page (step 7)
- Match the initial waitlist signups with the corresponding Typeform answers. By bringing the email from the signup form to Typeform, we don't need to ask the user to submit it twice.
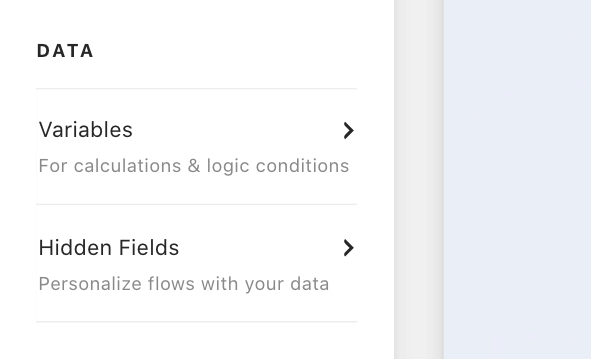
Hidden fields
To make this happen, you need to use Typeform's Hidden Fields feature. You can find the settings under Logic → Advanced.

You need to set two Hidden Fields: @email and @code. Once that's done, you are able to insert those values at the end of your Typeform link and have them submitted along with the other answers of your Typeform:

5. Integrating the Typeform to your site
Typeform gives you several alternatives on how to embed a survey on your page. If you don't want to use an embed, you can just redirect your users to the Typeform.com link.
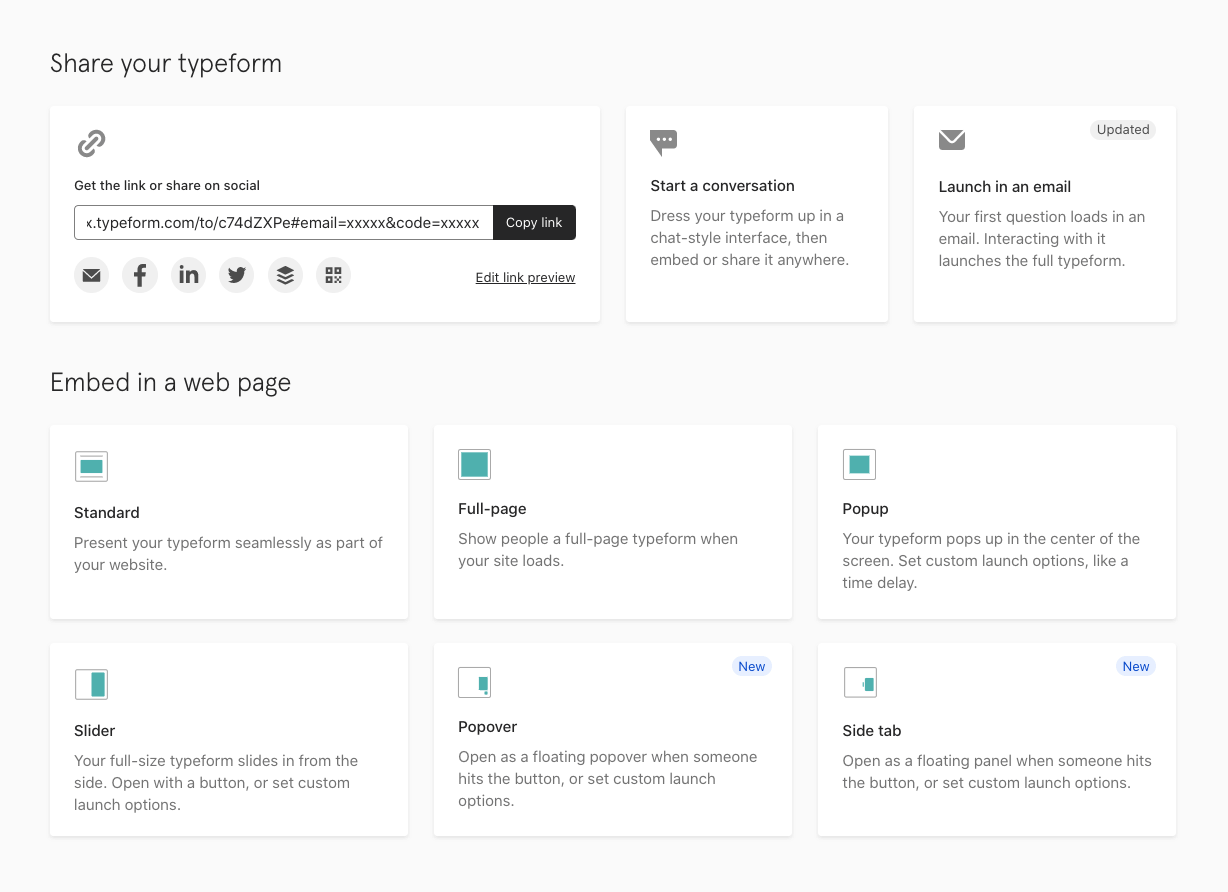
.png)
If you choose to go with any of the embeds, you need to grab Typeform's embed code and place it in your page's HTML.
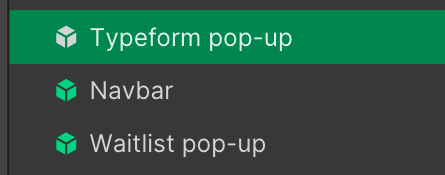
With a popup, it doesn't really matter where you place the Typeform code. We have ours on top of the page hierarchy.
The popup also includes an <a> element, which is essentially a "Launch me" button. Its function is to open the survey popup when clicked. However, since you want the popup to automatically open when a user submits the signup form, you need a piece of code that does that for you.
You also want that code to take the email that was submitted (from an input element with id set to "email"), assign it to a variable, and insert it at the end of your Typeform link together with the referralCode. These will be the Hidden Fields we set up earlier 😉
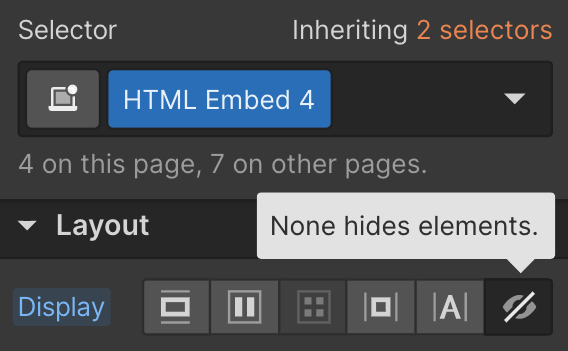
Lastly, set the visibility of the <a> element to "none" in order to hide the "Launch me" button.
If you're using Webflow, you can just hide the entire HTML Embed.
6. Typeform redirect
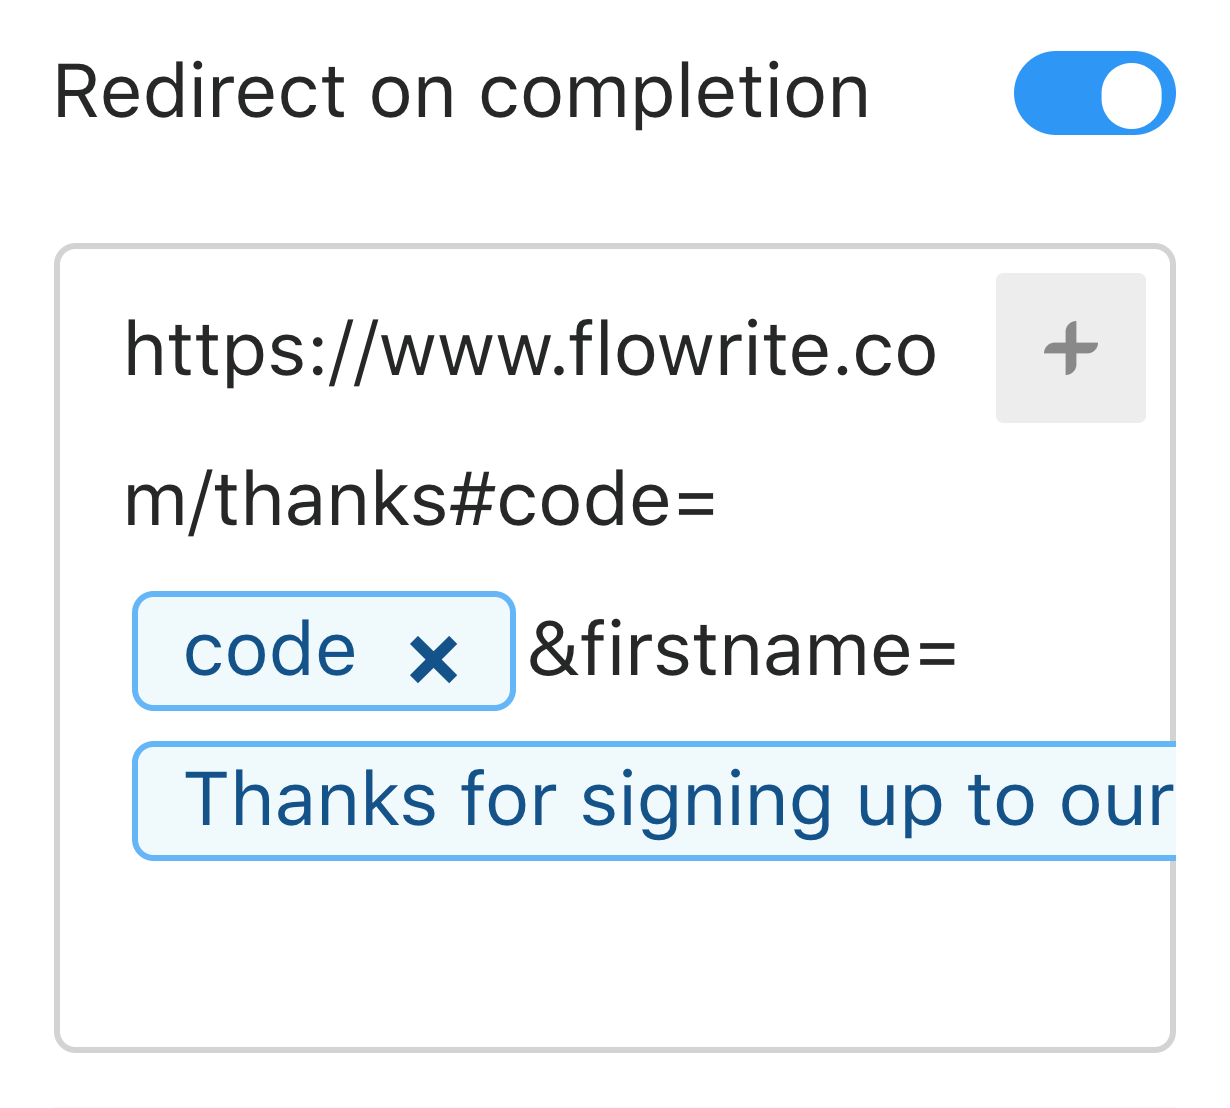
Typeform allows you to redirect users to custom URLs after completing the survey. The URLs can be customized with both the survey data as well as Hidden Fields.
Our redirect links contain both the referral code (a Hidden Field) and the user's first name from the survey.
For example, if the "code" was set to 123456 and the first name of the user was Aaro, the redirect URL would be:

7. Confirmation page
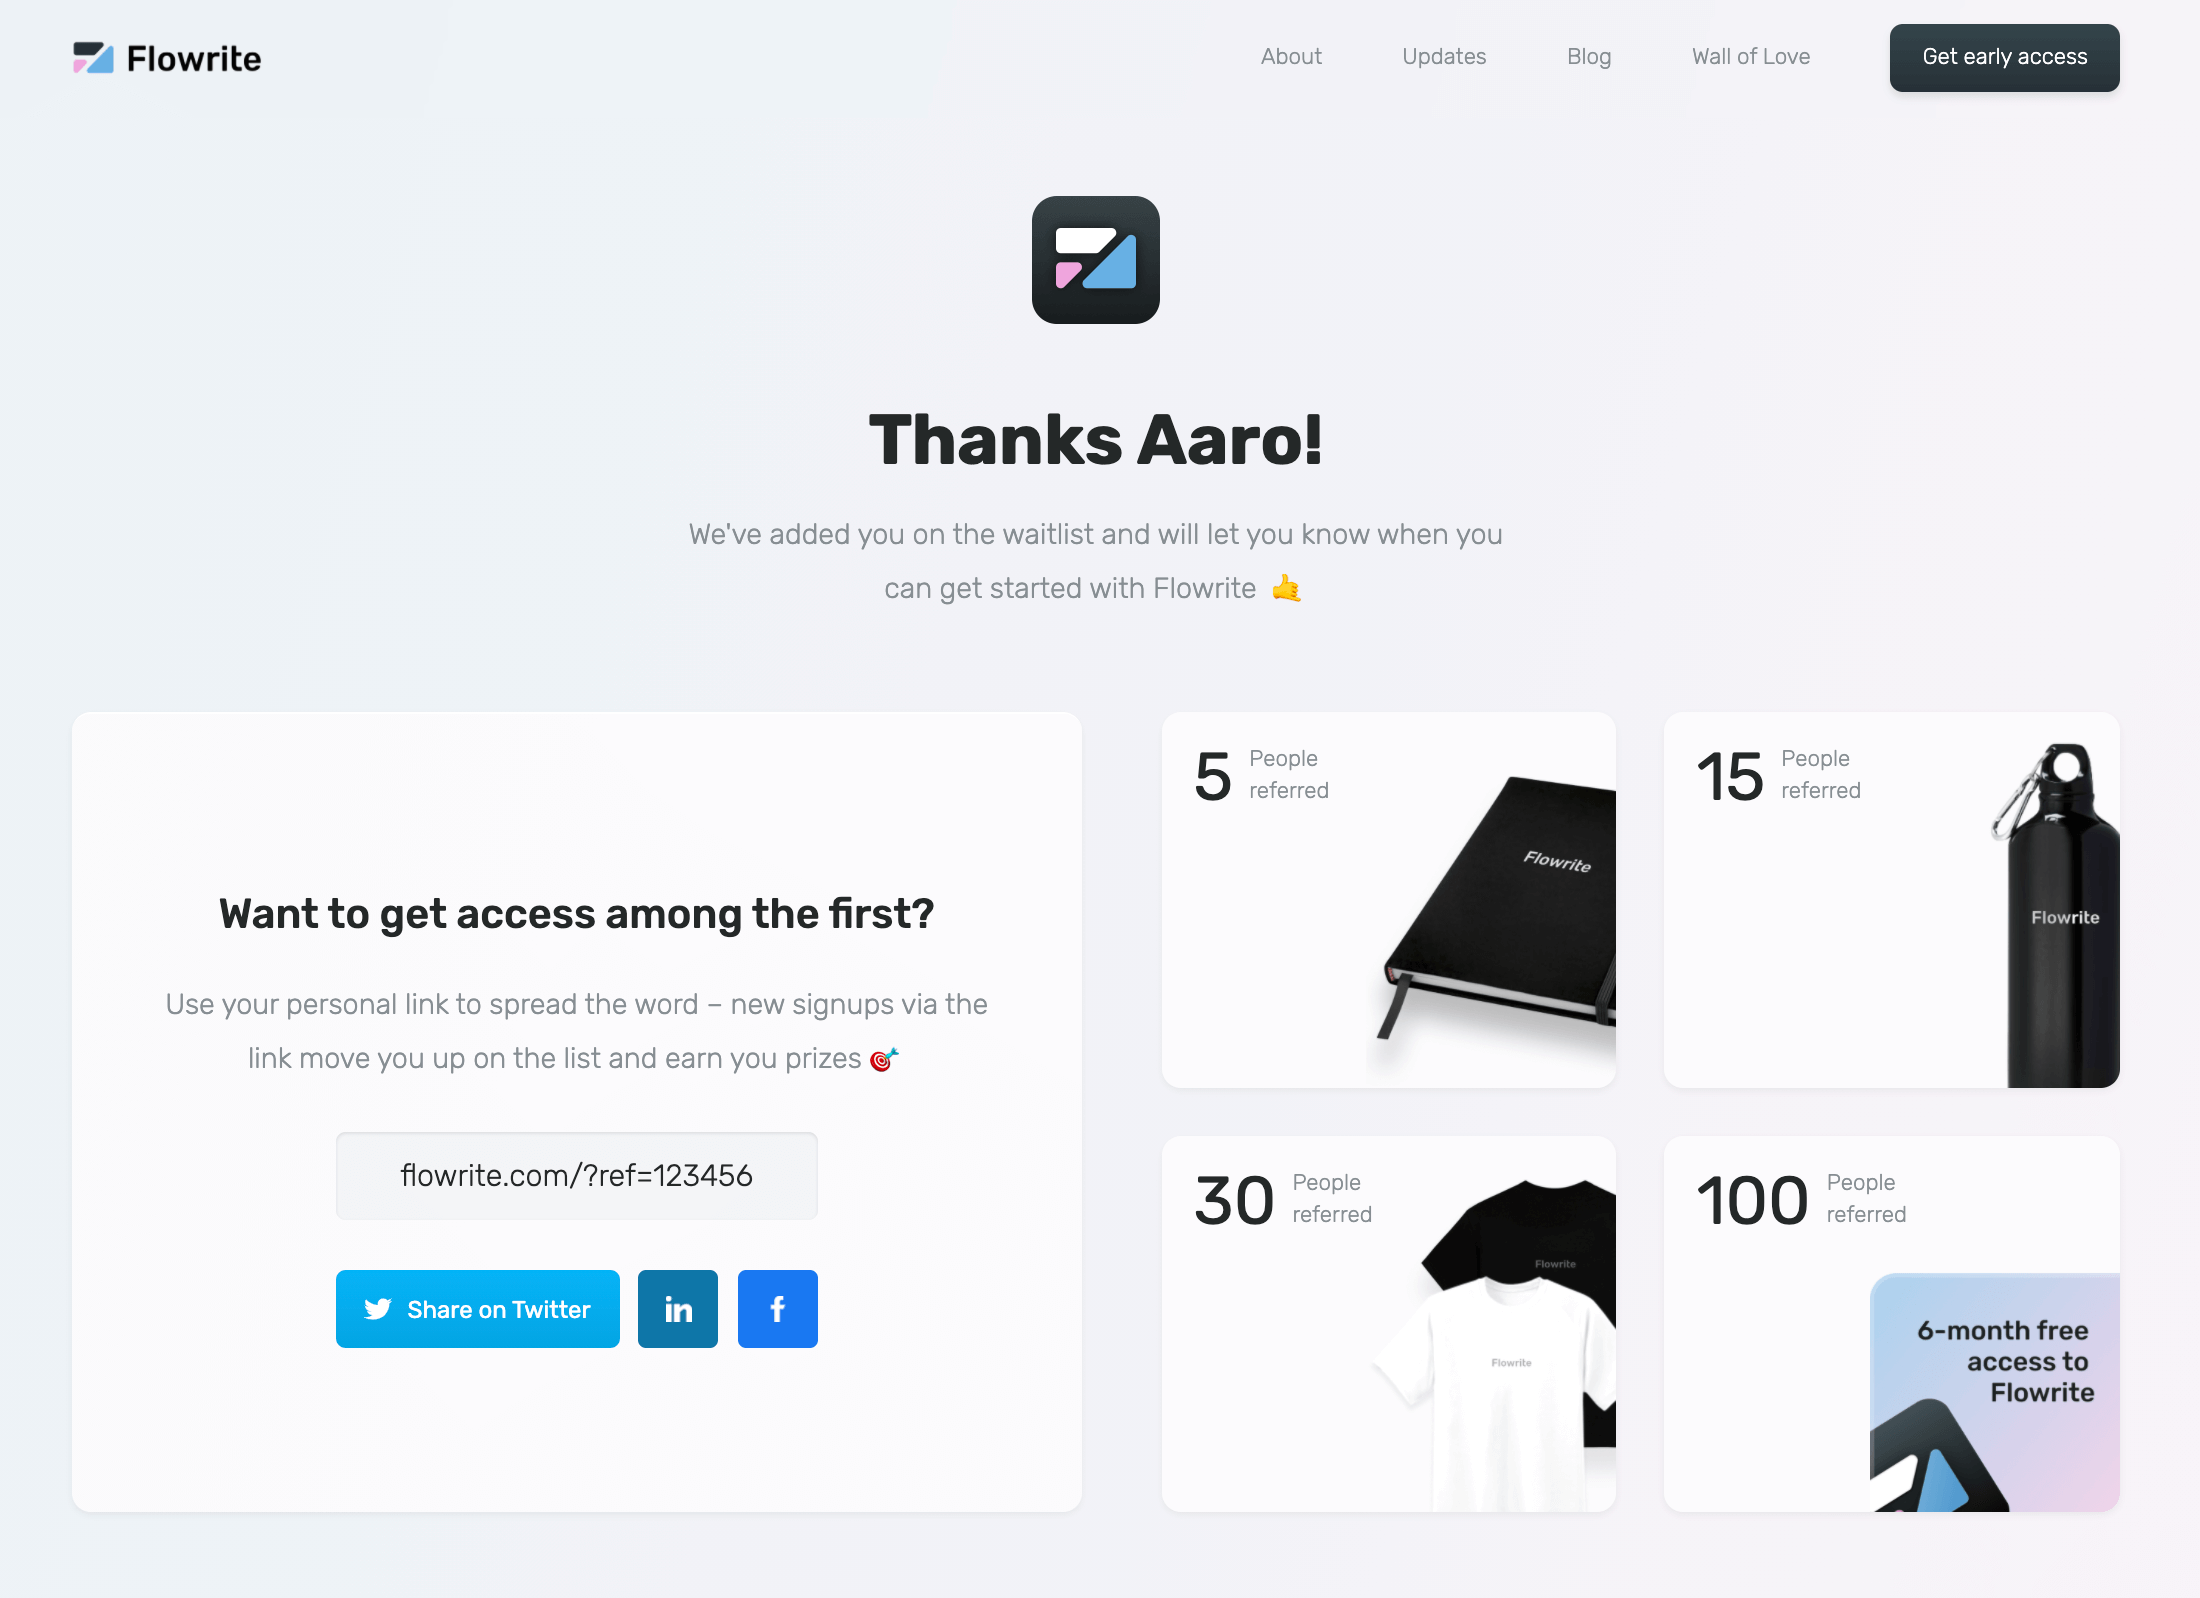
Incentivization
Our way of incentivizing the users is to offer Flowrite-branded merch and free access to the product. With merch, we'd recommend choosing items that you can fit in a letter. We recently realized that shipping packages across the world can get a little expensive.. 🤭
.png)
Customizing the confirmation page
Having that custom redirect URL from Typeform allows you to customize your confirmation page for every user. For example, Flowrite's confirmation page uses the "firstname" value of the URL to make the page just slightly more personal:

To do the same, start by wrapping the part of the paragraph you want to customize in a span. Then, set the id of the span to "firstname".
.png)
Lastly, insert the following snippet at the end of the <body> tag of your confirmation page.
In addition to the first name, you can also use the "code" value of the URL to customize share links for social media. To create a Twitter link, first set the id of your Twitter share button to "tweet".

Then, insert the following code at the end of the <body> tag of your confirmation page.
8. Confirmation email
After the initial signup on our website, we send a confirmation email to the email address that was submitted. Naturally, we want to use the referralUrl from step 3 in every sharing link of that email.
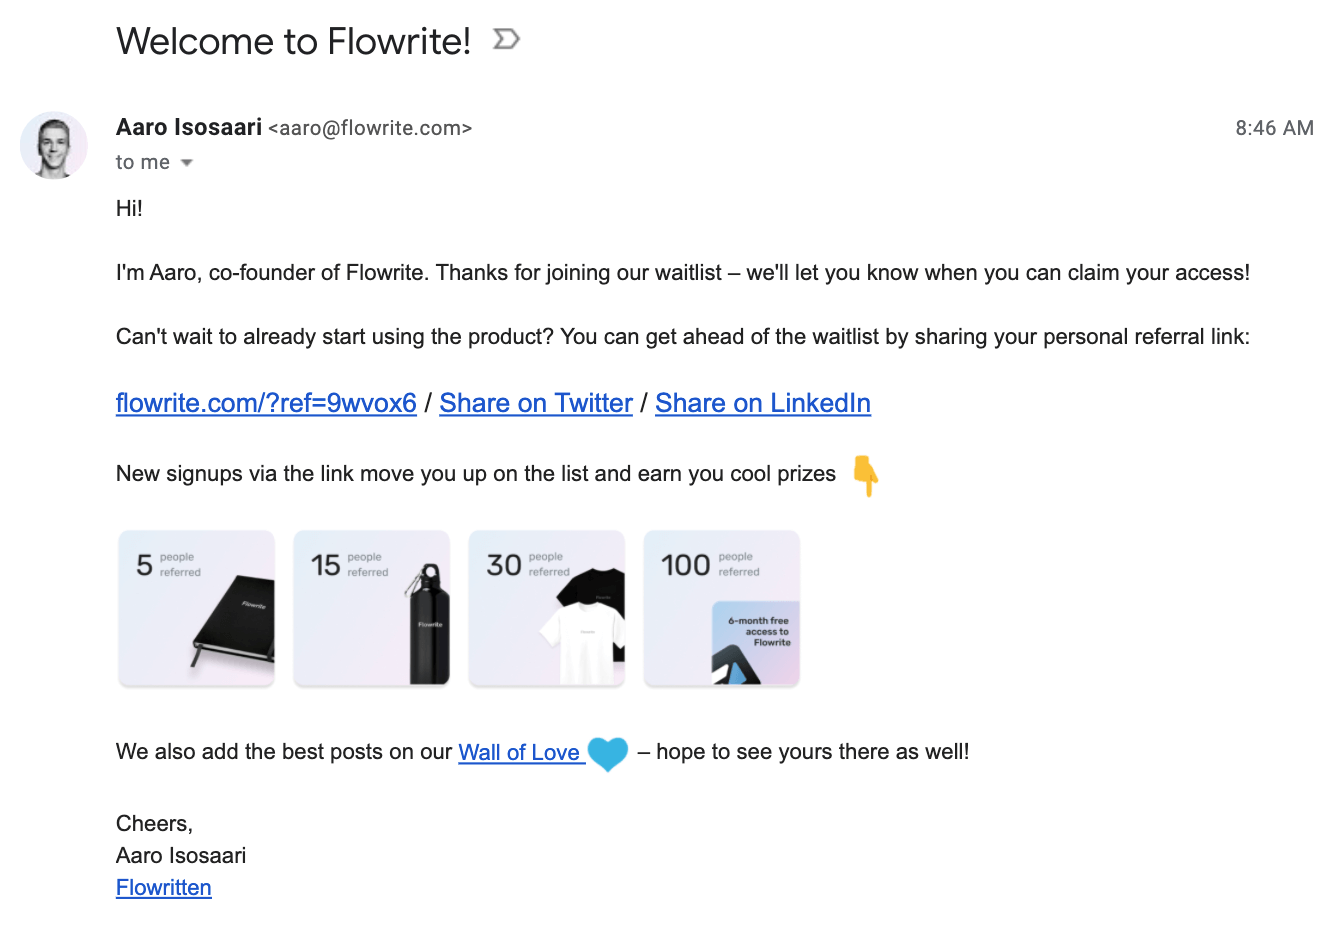
Regardless of whether you're using Zapier or Integromat to automate the confirmation email, you want to use the signup form submission as a trigger and connect it to your email account to send the confirmation email based on the submitted data – email address and referralURL from step 3.
We decided to use Gmail since it allowed us to send emails that look and feel the most personal. However, Gmail's daily sending limits have caused us some problems when the volume has exceeded 1500 emails/day. If your signup volume is constantly higher than that, you might want to consider other alternatives like SendGrid or Mailchimp.
To include dynamic links and any other content besides text (e.g. images), you should choose the HTML option in Zapier. In Integromat, HTML is enabled by default.
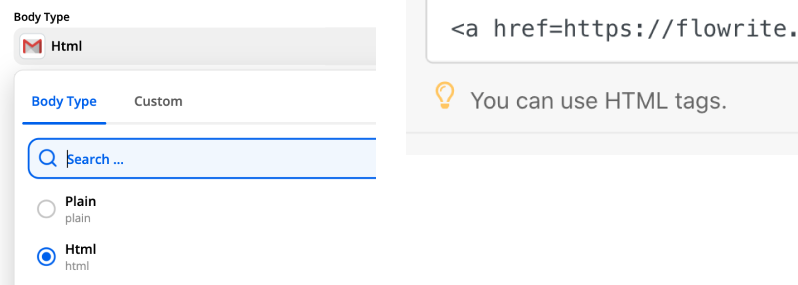
Below is an example structure you can use to create your confirmation email using HTML. Use the data from the form submission to customize the referralUrl.
9. Tracking system
Internal tracking
Finally, you need to deliver the signup data from your website and the Typeform submissions to a single destination where you can track the # of signups, corresponding Typeform submissions, and referrals. We are using Google Sheets but feel free to go with Airtable or something else you feel comfortable with.
In order to have data flowing to your Sheet in real time, you need to connect it with your website and Typeform using Zapier/Integromat/etc. You need two triggers:
- Waitlist signup → Send email & Create a new spreadsheet row (this is the one that we discussed in the previous step)
- Typeform submission → Create a new spreadsheet row
For the tracking system, we've created a simple template that you can duplicate and use as a base for your own tracking system:

In addition to the four worksheets included in the template, we've also built various other tables like automated reward tracking and email pipeline, unsubscriptions sheet, funnel mapping, and more. But we'll leave that up to you 😇
External
To help users track the # of referrals with their unique link, we've created a public leaderboard – also with Google Sheets.

+ 10. Additional referrals with Typeform
One of the ways to boost your referral rate is to ask your users to enter the email address of their friend or a colleague. This could be one of the questions in your Typeform survey or a form on your confirmation page.
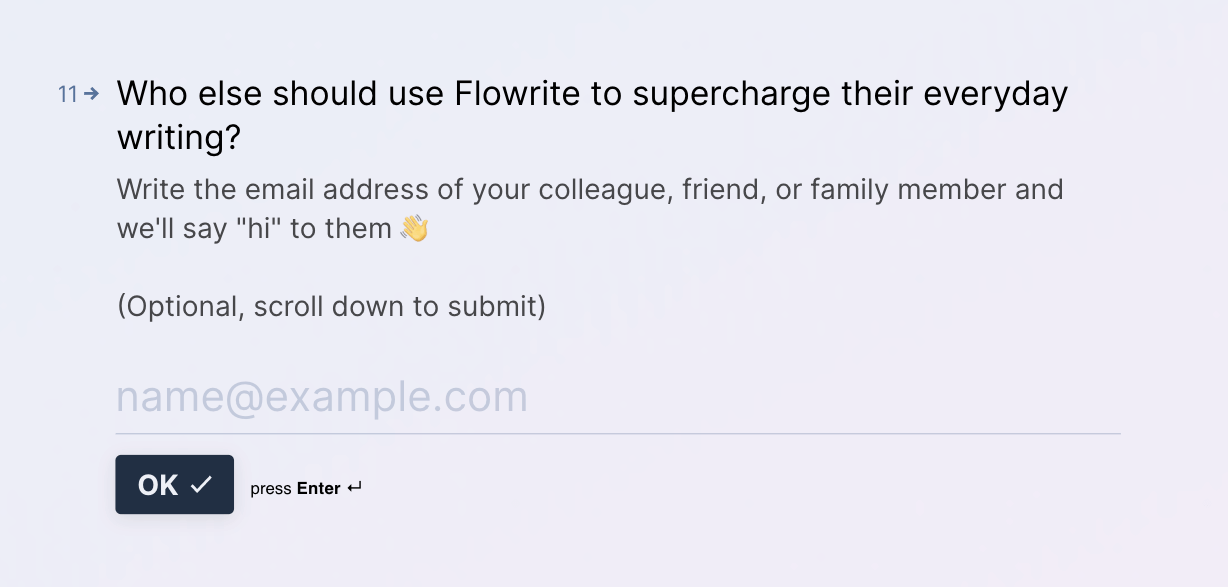
Here's how it looks like on Zapier:
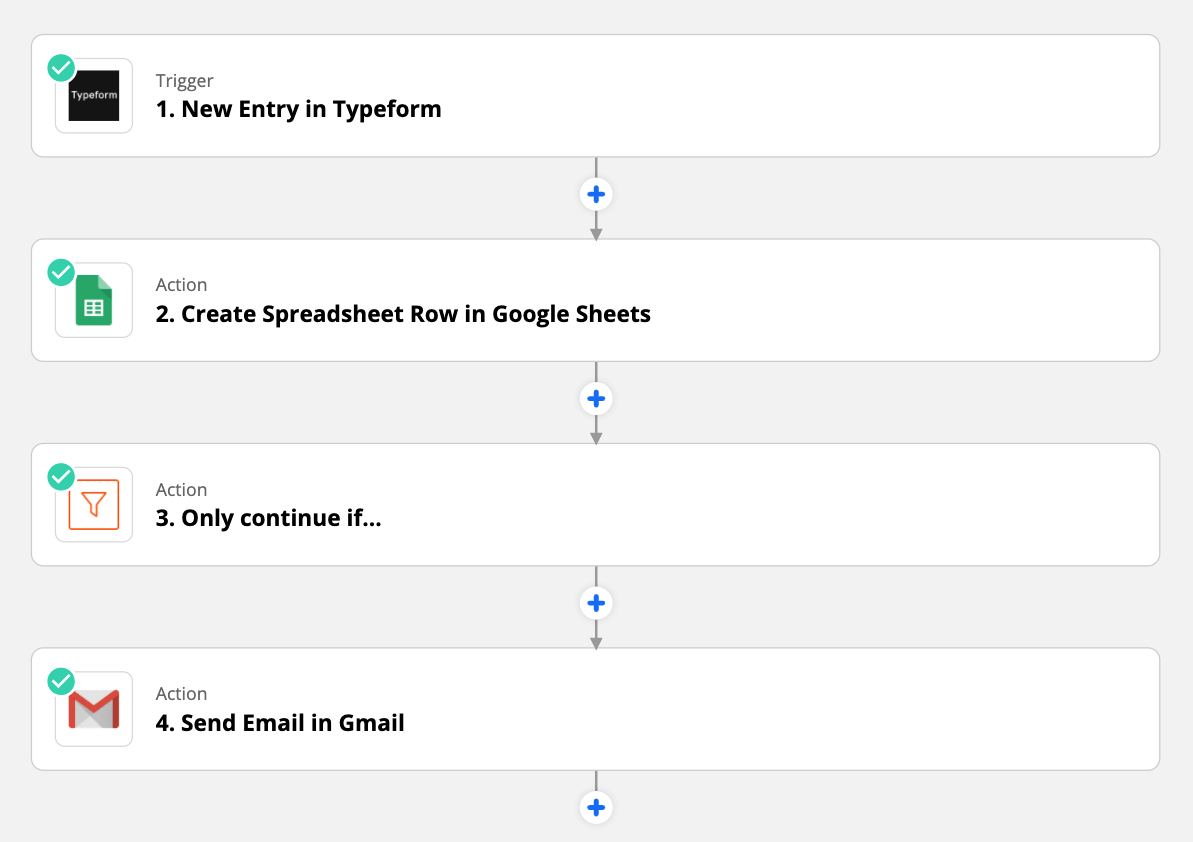
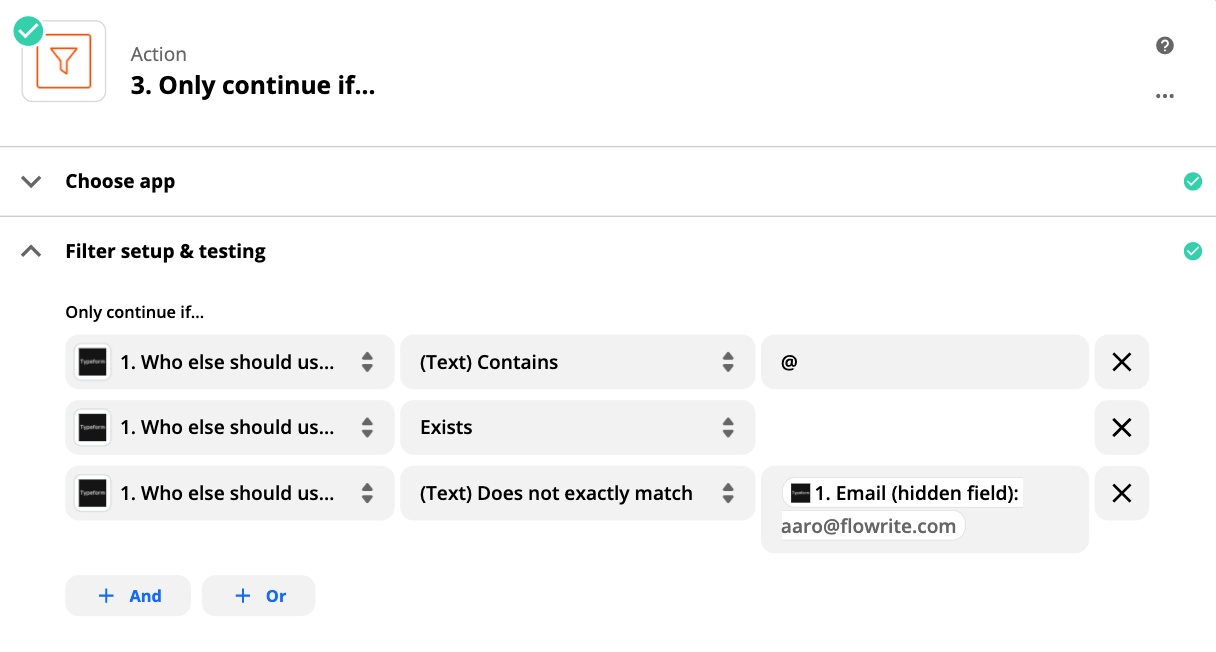
The filter operation before sending the email is important. You want to make sure that:
- The value is actually an email (Typeform is not perfect in identifying this)
- The value is not empty
- The referrer doesn't refer themselves 💩
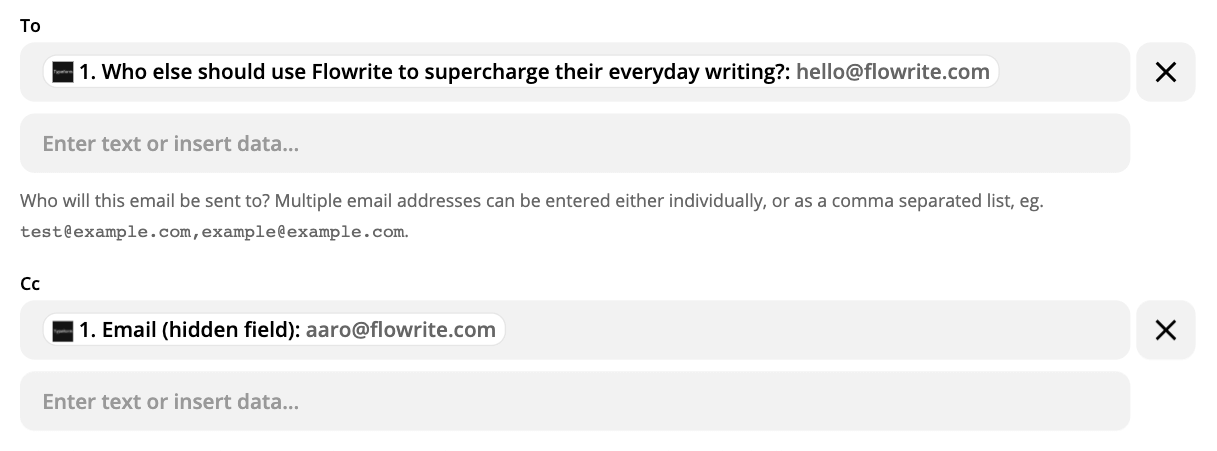
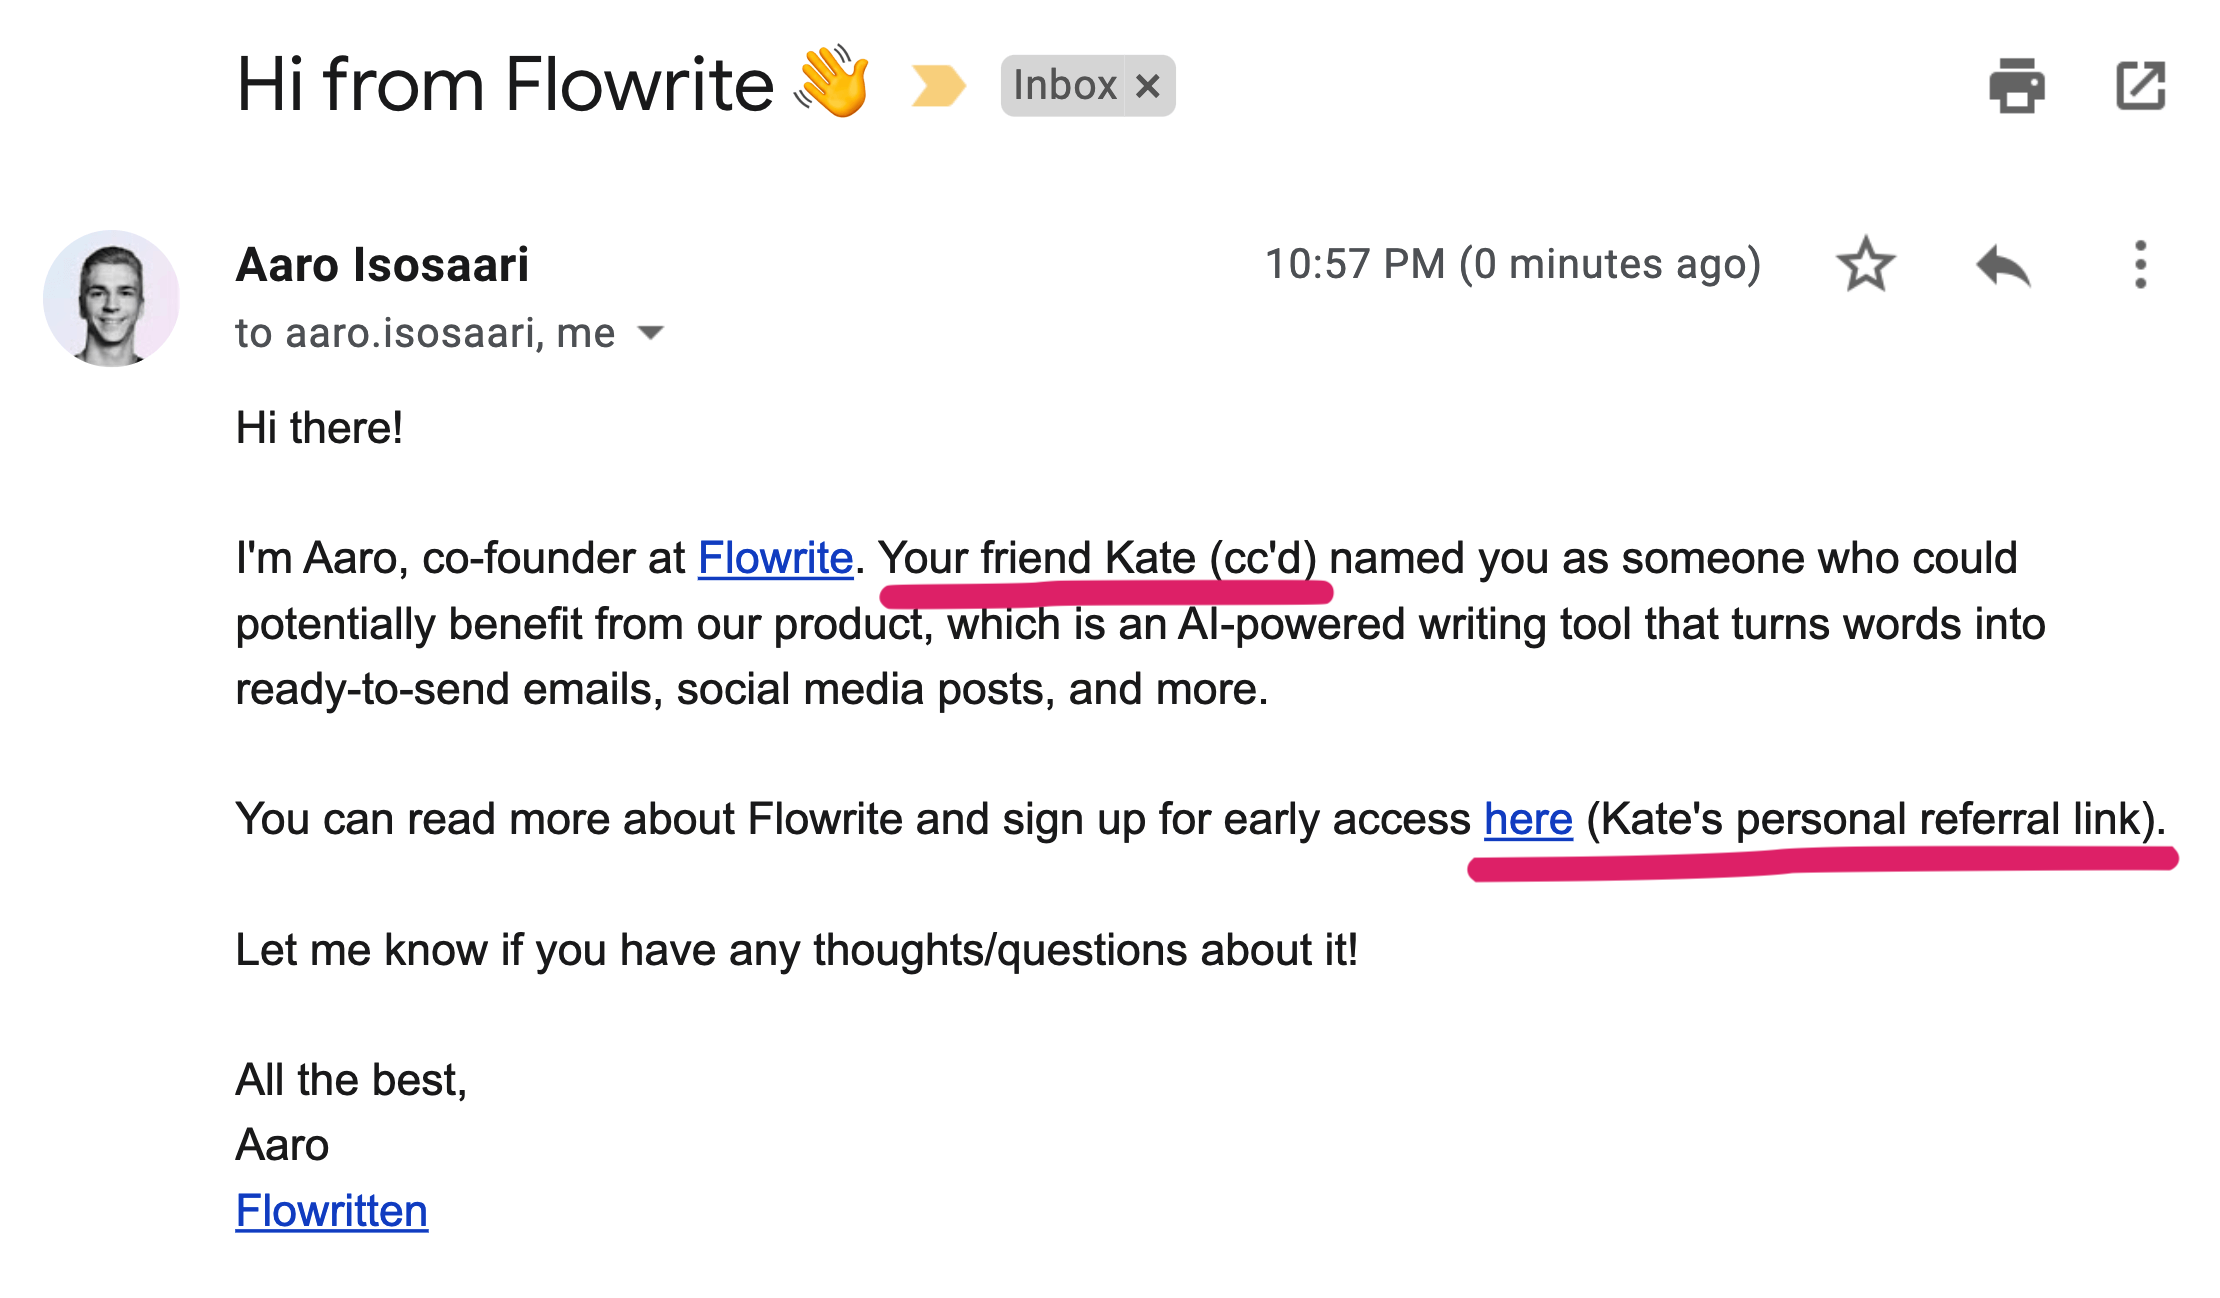
Lastly, we include the referrer in the cc field of the referral email to make the experience extra personal 🤗
That's it 🎉
Your referral program is now ready for launch. Congrats! 🤩
I'd love to know if you end up using this system, so please ping me if you did and share the post with someone else that might benefit from it ✌️


%20(1).png)


.png)


